Showing posts with label photoshop. Show all posts

Sunday, October 27, 2013

Tutorials: Vector Portraits

It's been a long while since I made my last vector portrait. These are some recent tutorials I'd love to work on soon. All these artists just come up with awesome stuff, and they help out others by making these really cool tutorials. Here are some of them:

1.  Photoshop Tutorial: New Tricks for Vector Portraits


Artist Daniel Caballero shares the process in making this awesome vector portrait. 
He also talks about how to use the Pen tool, and also explains how to add and change details and elements to give the piece a hand drawn look.

2. Illustrator Tutorial: How To Create A Self-Portrait in Geometric Style


Here's a tutorial on making a vector portrait with just geometric shapes in Illustrator.

3. Photoshop: Texture Effects with Vector Graphics


Pure awesomeness. Definitely check this out. An artistic depiction a Twitter user made by Charles Williams. Will learn a lot from this when I try it out.

So...that's it. These are stuff you should definitely try out. 
Thanks for reading!


Friday, October 25, 2013

Drawing Pandas and Proportion Problems

I'm admittedly not the best guy out there when it comes to drawing. There's more to it that I'm still unfamiliar of. One of this is drawing with the right proportions.

There's a technique I've read about somewhere  You can tell that a drawing is effective when you flip the image horizontally and the character still looks okay.

Let's take an example.


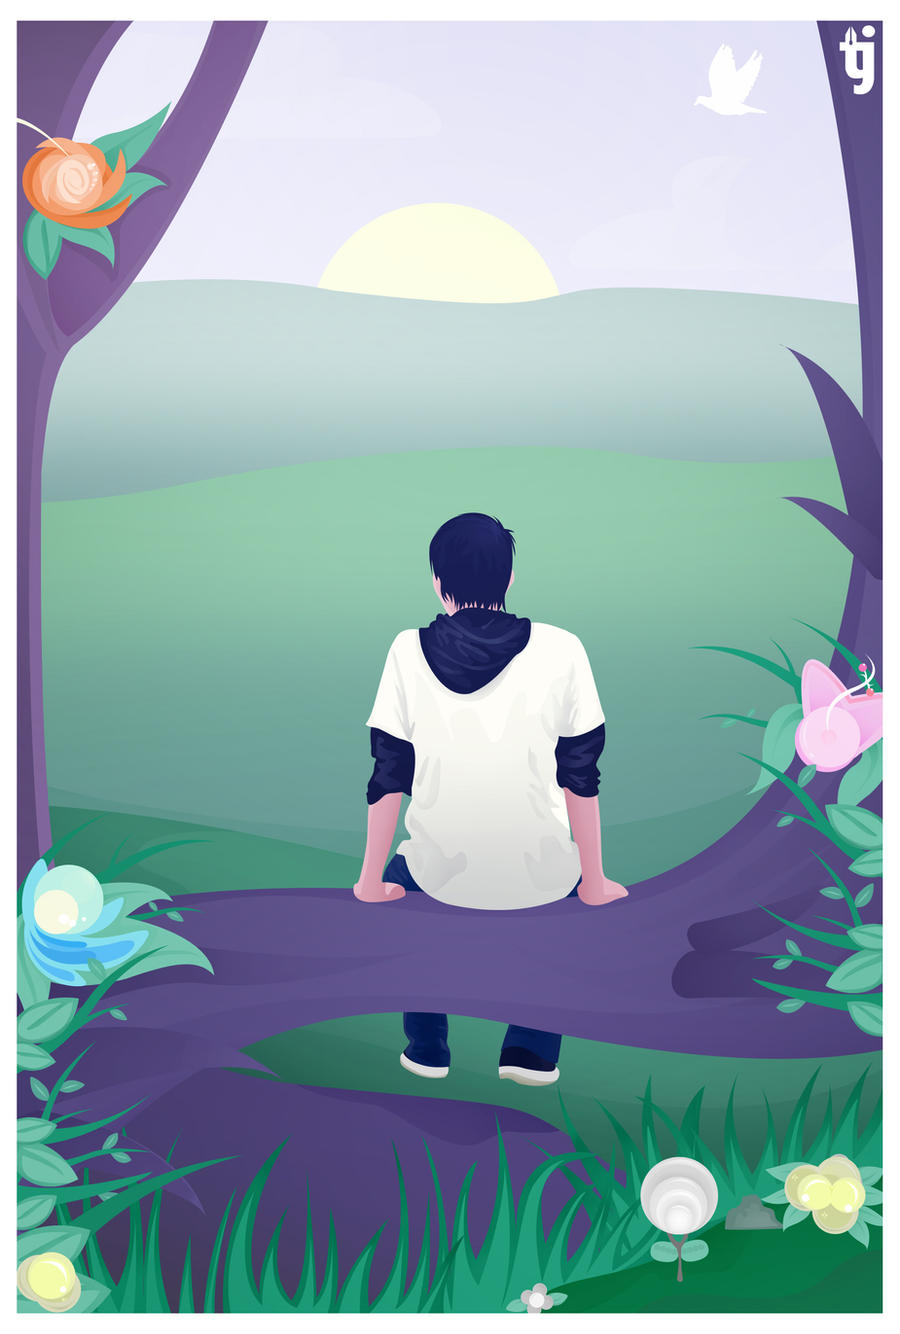
This here's 'The Key', something I made a few months ago. I really like how it turned out. I made this by drawing the character on a sketch pad first but I really had no idea about the proportions. You can tell that his other eye seems a lot bigger, and his hair looks awfully odd. But the mistakes aren't that noticeable. 

Now let's try flipping the image in horizontal.


The character looks a bit odd and the mistakes are noticeable now. I'm honestly guilty of most of this, even for previous drawings. Hopefully I could do something to work this out and think about the proportions a bit more.

I'm taking this intro practice and seeing if using grids will help, instead of just randomly sketching body parts with estimates.

So I drew this little panda right here. His name is Julian.


Using precise shapes and following a grid, I colored him in but didn't exactly follow the drawing I made, instead just used it as a guide.


For the face, I created a circle and extended it a bit to make a face shape. Then made the mouth and nose, making sure those are at the exact center. The left eye and right eye are the same, just flipped horizontally (except for the white highlights).


The rest of the face is pretty much consisting of different shapes for the shadows, a lot of circles adjusted. I only did the LEFT part, and then flipped that towards the other side.
I also changed the mouth since I didn't like the first one I made.


Pretty much same goes for the lower half. This is going to take a while.

So...yeah! Just showing you this process and hoping I could do this, not just for basic poses but for a lot more. 


Here's the final photo of Julian.

So, that's it! Please subscribe to my blog if you like. Have a nice day!


Monday, September 30, 2013

Process - Relient K Chibi Magnets

It was around 2005 when our cousin introduced us to Relient K. He lent us a copy of their album MMHMM and I was around 12 years old then. Ever since, I've greatly related to most of their songs and we'd dream of them visiting here in the Philippines. I thought it would be awesome if we could see them live and tell them how awesome they are.

Years later, and behold, they were here and I had the privilege to meet them! Last September 28 and 29, I've been to their shows and also had the privilege to meet them and gave them these cute magnets.  It was an awesome time.

In this post, I'll talk about the process in making the gifts I gave the band - chibi magnets of Matt Hoopes and Matt Thiessen.

First off, I drew both of these awesome guys on a sketch paper,
doing my best to make them look similar to the two Matts.

Using the pen tool, let's trace the characters to form lineart.
You can check here for an awesome tutorial on how to use the pen tool.  
Lineart's a little close to being done. It still looks messy, so we'll adjust them in a bit.
More lineart. Looks really cute! 
Now we'll add the colors, using the pen tool and adding a clipping mask for the shadows.
Now we add more detail by using the brush tool to add some life to the colors,
again using a clipping mask.

Now that the kawaii chibis are done, let's make the magnets!

I visited an office supply store and purchased some magnetic paper. Then used that paper and printed the images.


Cut the magnets carefully with scissors and here they are! Ready to be given as gifts to the most awesome bromance ever, the two Matts of Relient K. 
Here are some photos I took from Relient K's show. 
Thank you so much guys for coming here to the Philippines!

P.S.: They love the magnets and posted a photo on their Instagram. It feels awesome!

Friday, August 2, 2013

Process: Vector Portrait (Time Lapse Video)

Check out this time lapse video on making a vector portrait with that elegant and rosy effect.

Feel free to also subscribe to my youtube channel and follow this blog for updates, resources and tutorials.

Thanks!

Sunday, July 28, 2013

Process: Candy Crush Saga Fanart


Candy Crush is a popular game right now that appeals to both young and old. With it's simple yet addictive gameplay, it's a game you really would remember. 


My mom really loves this game. It's bright, happy and one day I just thought about a story for it - and so the fanart unfolds..  

Step 1: The Drawing

On a sketchpad, I drew this sketch of a girl giving this guy a lollipop. With a scanner, let's scan the sketch and open it on Photoshop.

Step 2: The Coloring

With the pen tool, I then proceeded to create shape layers to fill in a solid color to the young girl.

Monday, July 15, 2013

Color Schemes

It's really fun to think of your own color combinations. Colors are just...wow. It's awesome how we have thousands of colors around us, and mixing them together, it creates something truly different and amazing.

Here are some of the color combos I've thought of that I'd like to share:

 
This is the color scheme for this very site!

A bright, colorful scheme.

Sunset!

And here's the one from the Onceler artwork I made.

Some rainbow-like colors.

And here are colors from a series I called "We Grow".

You are free to use above color schemes, but please give me credit!

You can also find some inspiration with mixing colors through the site ColorCombos.com.
It's where I get some ideas and even get some of their own color combinations.

Thursday, July 11, 2013

Process: An Apple To An Artwork

What can you do with an apple?

And nope, I'm not talking about the guys behind the iPad and Mac.
A few months ago, I joined a vexel art contest on deviantART where the mechanics were to make a vexel artwork out of this apple right here. But before we proceed, try asking the question:

"If you were to create something from an apple what would you make?"

Well, let's see what I've come up with! Not that I'm proud of it.

The Gory Insides

 
Hmm... apple. May not be an accurate way to tell what's inside but this was the concept I thought of.
Using the pen tool set to 'Path', I used those paths to make the lines, fill in the red part of the apple, the leaf and that little stem thing.

More details revealing what I have planned for our apple. You can see the core of the apple right there, looks kind of like a cave... and then at the surface, you see something like land and water. Using the same tool for this step.

And Then Suddenly...A Wild Rainbow Appears

 
Looks kind of weird right now. What's that rainbow have to do with the apple and that sun? or is that a moon Also using the same tool for this step.

On The Inside

I've added a man, and a few frames hanging around inside the apple.

 Finished Artwork


And here is the finished artwork for the contest. It shows the young man inside a fresh red apple.
I'll leave you guys to interpret what it means.

I won 2nd place for this contest so..it's a really great achievement.

Tuesday, June 11, 2013

Vector Portraits: An Introduction

Vector Portraits

Digital and vector portraits are popular nowadays. It makes a great gift for friends and loved ones, and in my experience, it's also a great way to train on keeping us focused. Vector portraits are not too hard to make, but of course you need a little bit of learning. But learning is a great thing, right?


"Geraldene" by Tactician Jenro
I first found my interest in vector portraits when my friend introduced me to a Filipino group of vector artists called Vector X Vexel PH. Prior to that, I wasn't as interested in making art as I am now and it helped me to take a leaf and try to learn. Since then, I made more and tried my best to improve. Here on the left is the first vector portrait I made from a year ago. I think it looks okay for a first. :)


A self portrait I made.


The Process

Vector portraits are not created from scratch. You take a reference photo of the subject you'd like to create into a portrait, and basically try to "remake" the picture and make it into a digital one.  

This is all made possible with the pen tool.  It's a very versatile tool found in software like Photoshop and Illustrator and you can learn the basics to using it in this tutorial. This is the most important tool!


I won't be going to the entire process in detail, but I'll try to write some "how-to" posts on how I make some of the portraits next time. :)


But, if you'd like to learn more, there are a lot of tutorials around YouTube. I also recommend going to this site and it has everything you need to know about vector portraits.


I hope that encourages you to try it out. Thanks for reading!